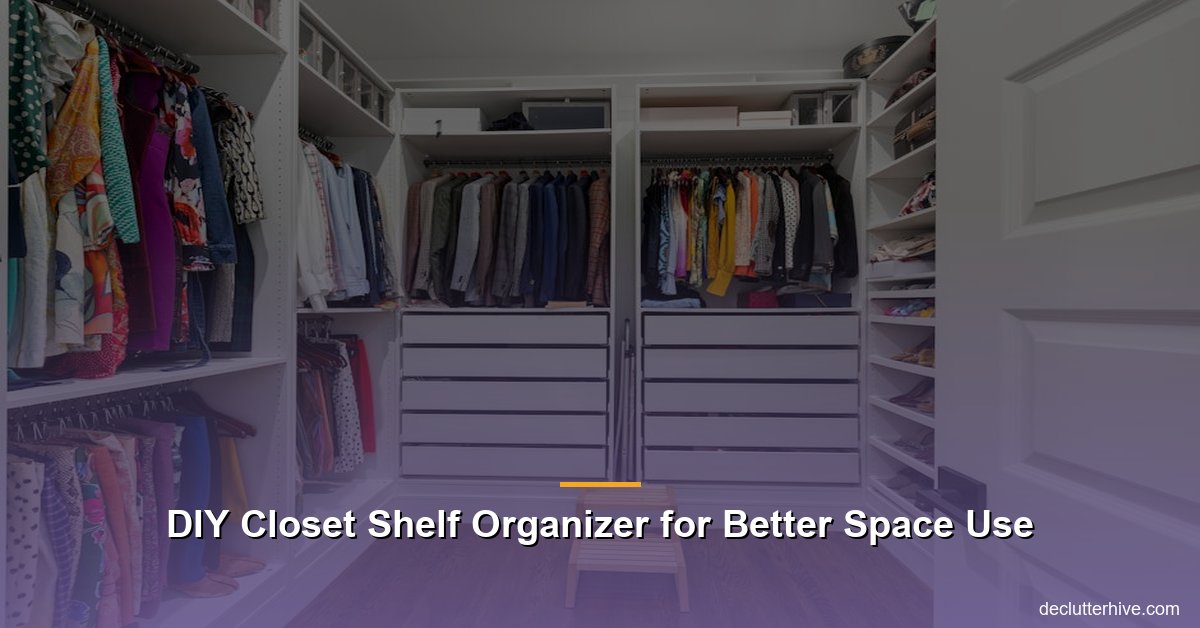
DIY Closet Shelf Organizer for Better Space Use
DIY Closet Shelf Organizer for Better Space Use
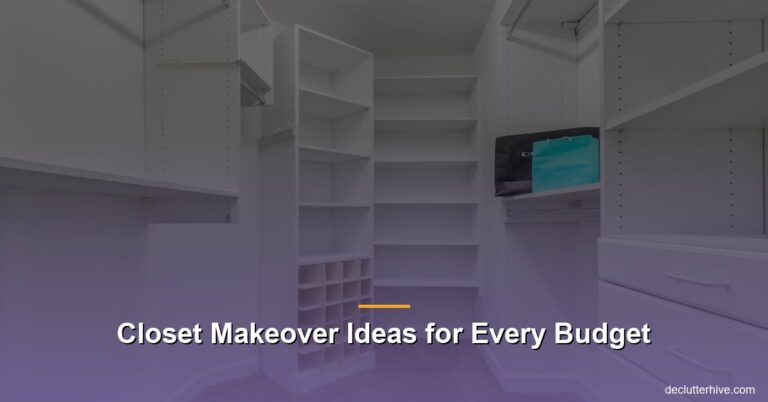
Ever opened your closet and thought, “Did a tornado just rip through here?” Same. Closets have a way of turning into chaotic messes faster than you can say, “Where’s my favorite sweater?” If you’re tired of shoving things into random piles or playing Tetris with your clothes, it’s time to change that. Let me introduce you to the hero of your storage struggles: the closet shelf organizer DIY project.
Why buy overpriced organizers when you can make one that fits your stuff exactly the way you want? Plus, it’s way more satisfying to look at something and say, “Yeah, I made that.” Ready to reclaim your closet space? Let’s tackle this together!
Why a DIY Closet Shelf Organizer Matters
Okay, hear me out. You may think, “Why bother? I can just buy one.” But store-bought organizers are often overpriced, wrong-sized, or just plain boring. Making your own means:
- Custom fit: You can design it to perfectly match your space and needs.
- Save $$$: DIY materials are often cheaper than pre-made options.
- Creative freedom: You choose the layout, size, and even the color. You want pink shelves? Done. More bins for shoes? Easy.
Another perk? If you’re renting or living in tight quarters, you can build something that doesn’t damage the walls (no drilling required). Plus, it’s oddly therapeutic – kind of like adult arts and crafts but way more functional.
Materials You’ll Need for Your Closet Shelf Organizer DIY
Before you dive in, make sure you’ve got the supplies. Trust me, there’s nothing worse than running to the hardware store halfway through your project because you forgot something important. Here’s the checklist:
Basic Materials:
- Plywood or MDF boards (you can get these cut to size at most home improvement stores)
- Wood screws or nails (depending on your preference)
- Wood glue
- Paint or stain (optional, but highly recommended for that polished look)
- Sandpaper (to smooth edges and avoid splinters)
Tools:
- Measuring tape: Don’t eyeball it. Precision matters.
- Power drill or screwdriver: DIY without a drill? That’s just cruel.
- Saw: A hand saw works, but a jigsaw or circular saw is faster.
- Level: Because crooked shelves are not cute.
- Clamps: Useful for holding pieces together while glue dries.
Fun Extras (Optional):
- Decorative contact paper or vinyl
- Storage bins or baskets
- Labels for extra organization
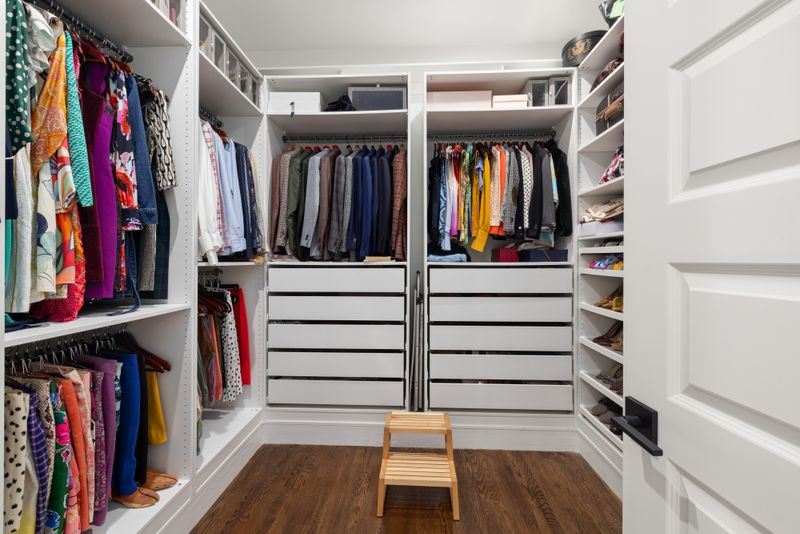
Planning Your Organizer Design
Here’s where we get to the fun part: designing your organizer. Before you grab the saw, take stock of your closet. Ask yourself:
- What needs organizing? Clothes, shoes, bags, hats – all of the above?
- How much space do I have? Measure EVERYTHING, including the height, width, and depth of the shelf area.
- Do I need drawers, bins, or cubbies? These are great for separating items and making things less cluttered.
Once you’ve got your game plan, sketch it out. Don’t worry if your drawing looks like a kindergartener did it – this isn’t an art contest. Just make sure you have the general layout you want before cutting anything.
Step-by-Step DIY Closet Shelf Organizer
Alright, let’s build this thing! Follow these steps, and you’ll have an organizer that actually makes you excited to open your closet.
1. Measure Twice, Cut Once
I cannot stress this enough. Use your measuring tape to make sure everything matches your space. Write down the dimensions and don’t leave it to memory. Once you’re sure, cut your plywood or MDF boards to size.
Pro tip: If you don’t trust yourself with a saw (no judgment here), most home improvement stores will cut the boards for you. Just make sure your measurements are spot on!
2. Assemble the Frame
Start by creating the base and sides of your shelf organizer. Think of it as building a box or cubby system. Use clamps to hold pieces together, then secure them with wood glue. Follow up with screws or nails for durability.
If you’re adding dividers for compartments, measure and install them now. Make sure everything is level – nobody wants lopsided shelves.
3. Sand and Prep
Before you paint or stain, use sandpaper to smooth out rough edges. This is especially important if you’re working with plywood, which can splinter along the cuts. Take the time to smooth it down, or your clothes will snag later!
4. Add Color or Finish
This is where the magic happens. Paint, stain, or wrap your shelves in decorative vinyl to match your style. Want a minimalist vibe? Go with clean white paint. Feeling bold? Try a fun pop of color. Just make sure to let everything dry completely before moving it into your closet.
5. Install and Organize
Place your new organizer onto the shelf space in your closet. If your design is modular, you can stack or rearrange it. Now comes the fun part: organizing your stuff! Use bins, baskets, or labels to make everything easy to find.
Common DIY Mistakes to Avoid
Let’s talk about what not to do. Trust me, I’ve made every DIY mistake in the book, and there’s no shame in learning from someone else’s missteps.
Mistake #1: Skipping Measurements
Guess who ended up with shelves that didn’t fit? This girl. Always measure your space AND your materials before cutting or drilling.
Mistake #2: Overloading the Shelves
Your DIY organizer is sturdy, but it’s not indestructible. Don’t go nuts piling heavy items on thin boards – they’ll warp over time.
Mistake #3: Using Cheap Materials
I get it, you want to save money, but going too cheap on materials usually backfires. Flimsy wood or screws lead to wobbly shelves in no time.
Mistake #4: Forgetting Aesthetic Appeal
Functional doesn’t mean ugly. A little paint or contact paper can make your organizer look like it came straight out of a Pinterest board.
Pro Tips for an Epic Closet Shelf Organizer
Want to take your DIY game to the next level? Try these hacks:
- Double up on storage: Add hooks or rods to the sides of the shelf for belts, scarves, or jewelry.
- Use clear bins: They make it easy to see what’s inside without rummaging through everything.
- Label EVERYTHING: You’ll thank yourself later when you’re running late and need your favorite pair of shoes.
- Light it up: Install stick-on LED lights to brighten your organizer and make finding things a breeze.
TL;DR: The Closet Organizer DIY You NEED
A DIY closet shelf organizer is the ultimate way to take control of your chaotic closet. Measure your space, grab some plywood, and get your inner builder on. You’ll end up with a custom solution that suits your style, saves you money, and actually helps you stay organized.
So, what’s stopping you? Go reclaim your closet, one shelf at a time, and turn that tornado into a tidy oasis. Trust me, your future self (and your favorite sweater) will thank you.
Ready to Try It Yourself?
Feeling inspired? Start your closet shelf organizer DIY today. Don’t forget to pin this article for later or share it with your messiest friend (we all have one). You’ve got this – now go make some space! 💪🛠
**
[INTERNAL: related topic]
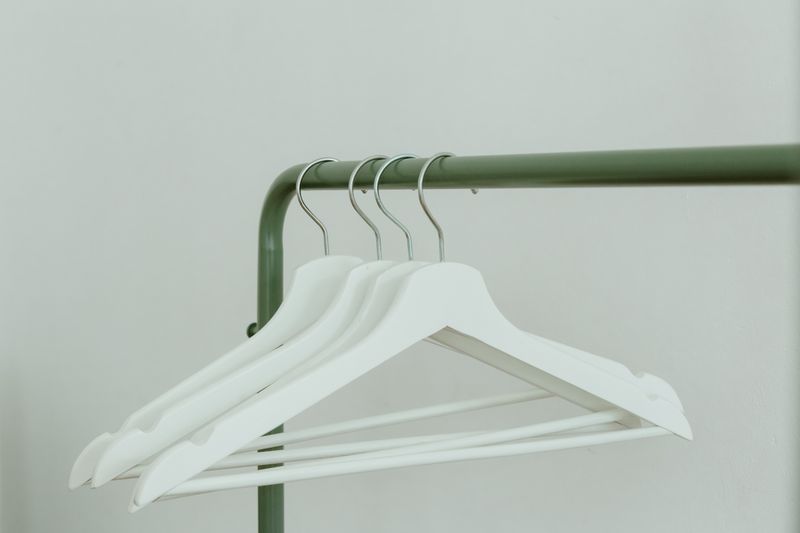
Products That Actually Help
Here are a few things I personally use (or have tested) that make a real difference:
- Velvet Hangers – Velvet hangers save space and keep clothes from slipping off.
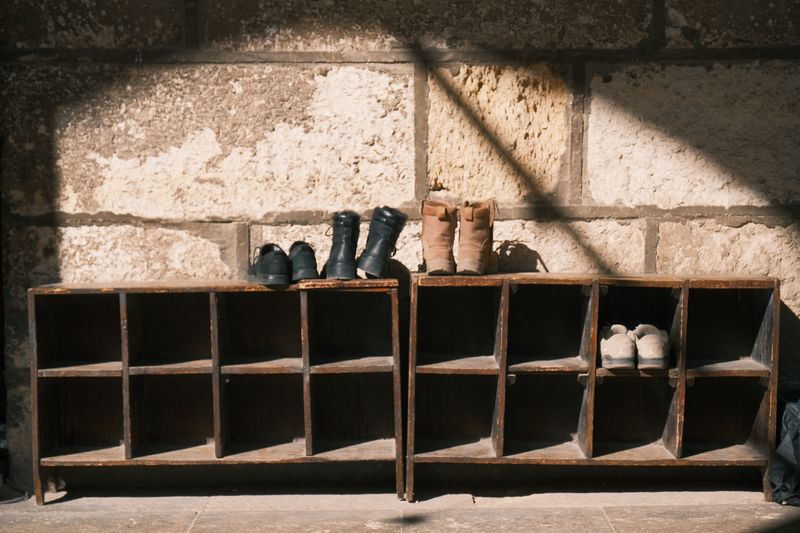
- Shelf Dividers – Shelf dividers keep sweater stacks from toppling over.
- Shoe Rack – A stackable shoe rack fits more pairs in less space.
Note: links above go to Amazon. If you buy something, I may earn a small commission at no extra cost to you. I only recommend products I actually stand behind.