Move Out Cleaning: Essential Checklist for Tenants
Move Out Cleaning: Essential Checklist for Tenants
Moving out of a rental can be exhilarating, but let’s face it, the thought of cleaning an entire apartment or house can feel like a real drag. You need a solid move out cleaning checklist to ensure you leave the place sparkling. Why does this matter? Well, not only do you want to make a good impression on your landlord, but you also want to ensure you get your security deposit back. No one wants to lose money because of a few dust bunnies lurking behind the couch. So, whether you’re a tidy tenant or a ‘I’ll clean it later’ procrastinator, this guide is for you. Let’s tackle that cleaning like a boss!
Why This Matters
I still remember when I moved out of my first apartment. I had this great plan for a smooth transition, but my cleaning routine quickly spiraled into chaos. Between packing boxes, arranging movers, and double-checking my lease, I totally underestimated how much cleaning was left to do. By the end of it, I was knee-deep in dust and grime. I found out from a friend that landlords often keep a portion of the security deposit for cleaning costs. I would have loved to avoid that headache! Did you know that, according to a survey, 54% of tenants reported losing part of their deposit due to inadequate cleaning? Don’t let that be you! A thorough move out cleaning checklist can save you time, stress, and money.
Main Tips/Steps
1. Start with a Declutter
Before you even think about scrubbing or vacuuming, decluttering should be your first step. This not only makes cleaning easier but also gives you the chance to sort through your belongings. As I was packing for my last move, I realized how much stuff I had accumulated that I didn’t even use. I separated items into ‘keep,’ ‘donate,’ and ‘discard’ piles. This made it so much easier when cleaning because I didn’t have to move a bunch of furniture around just to clean behind it. Remember, more clutter equals more cleaning!
2. Dust Everything
Once you’ve decluttered, the next step is dusting. It sounds simple, but don’t underestimate the power of a good dusting session. Start from the top of your rooms,ceiling fans, light fixtures, and shelves,and work your way down. Trust me, I once thought I could skip dusting the ceiling fan and regret it later when I flicked the switch and a cloud of dust covered my room. Use a microfiber cloth or an extendable duster to reach those tricky spots. You want to leave the place looking pristine, so don’t skip this step!
3. Clean Windows and Mirrors
Spotless windows can make a significant difference in how your place feels. Use a glass cleaner and a microfiber cloth for streak-free results. During my last move, I spent an afternoon cleaning the windows, and the transformation was incredible. Natural light streamed in, making the space look brighter. Don’t forget about those less obvious spots like window sills and the tracks where the windows slide. They can gather dust, grime, and sometimes even mold, so give them some attention, too.
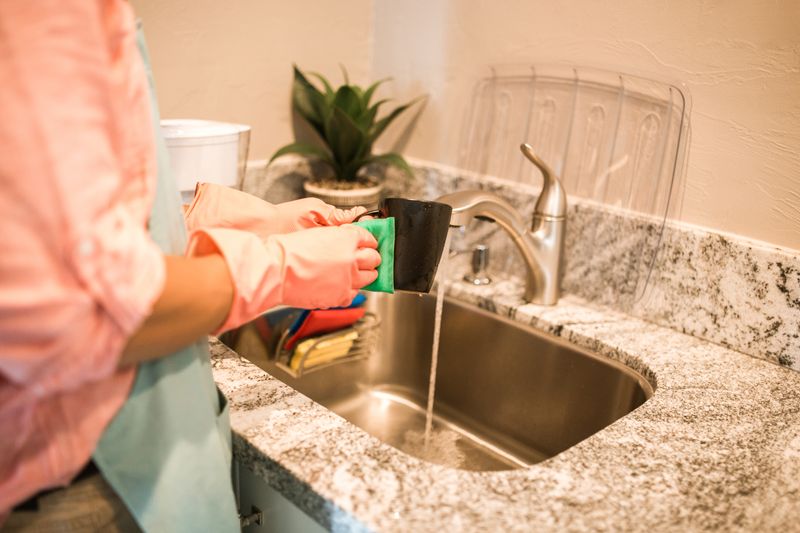
4. Scrub the Floors
When it comes to floors, a vacuum or broom won’t cut it. You need to scrub them down for that final touch. Depending on the type of flooring, use an appropriate cleaner. For hardwood, a gentle cleaner is best, while tiles may require something more potent. I learned the hard way after using a harsh cleaner on my hardwood floors that left them cloudy. Just remember, dirty floors can be a deal-breaker during the final inspection.
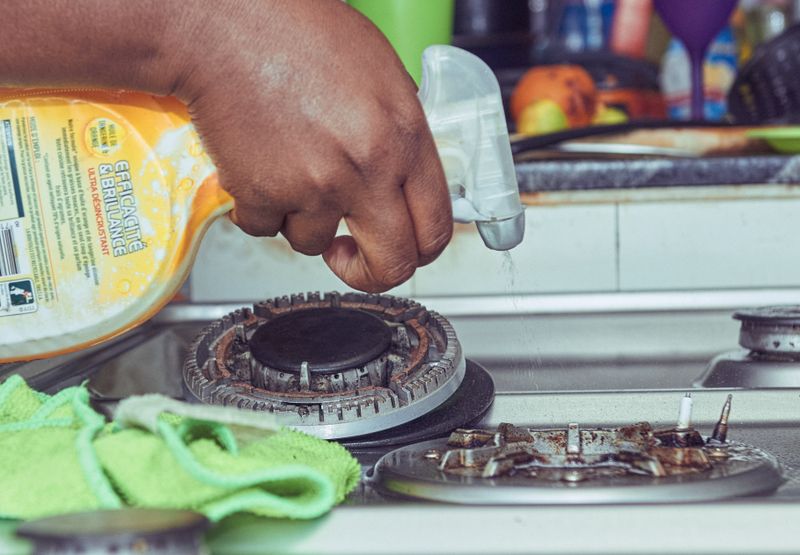
5. Kitchen Deep Clean
The kitchen is often where the most grime accumulates, and it’s a significant focus for landlords during move-outs. Start by emptying and cleaning out the fridge. Check those expired condiments hiding in the back. Next, tackle the oven and microwave. A little baking soda and vinegar can go a long way in removing baked-on grease. I remember skipping the microwave during my last move and regretting it when my landlord pointed it out during the walkthrough. Don’t make the same mistake!
6. Bathroom Blitz
Bathrooms can get gross,let’s be honest. Begin by scrubbing the toilet, sink, and tub or shower. Use a good disinfectant to make sure you kill any lingering germs. Pay special attention to grout, as it can easily stain. I always found that using a toothbrush to scrub the grout can really make a difference. Don’t forget to clean mirrors and take out any personal items. Leaving a clean bathroom not only helps you get your deposit back but also makes a great impression.
7. Final Touches
Once you think you’ve cleaned everything, do a final walkthrough with your move out cleaning checklist in hand. Check for any overlooked spots; this includes behind and beneath appliances. I once found an entire sock collection hiding under my fridge. Seriously, how does that happen? This final check can give you peace of mind and allow you to leave knowing you did your best.
Pro Tips or Common Mistakes
- Don’t Wait Until the Last Minute: One common mistake tenants make is waiting until the day before moving out to start cleaning. This is a recipe for disaster. Give yourself at least a few days to tackle different areas of your home. The last-minute rush will only lead to missed spots and a stressed-out you.
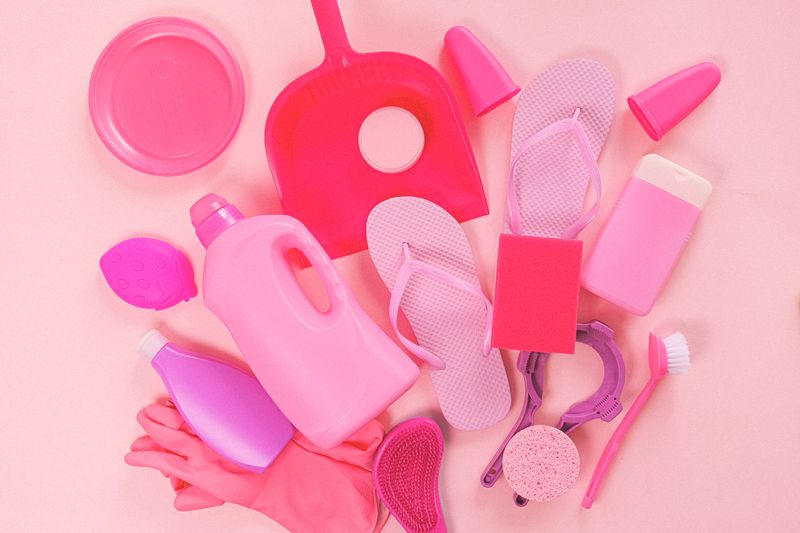
- Use the Right Cleaning Supplies: Make sure you have the right tools for the job. Some people think they can get by with a paper towel and a bottle of all-purpose cleaner for everything, but it just doesn’t work that way. Invest in some quality cleaners and tools tailored for specific jobs.
- Check Your Lease Agreement: Some landlords provide specific cleaning instructions in the lease. Skipping these can lead to deductions from your deposit. Make sure to read through your lease to know what the landlord expects from your cleaning effort.
- Don’t Forget About Outdoor Spaces: If you have a patio, balcony, or garden area, don’t ignore these during your cleaning. Sweep up debris, clear out any clutter, and wipe down outdoor furniture. This often-overlooked area can leave a lasting impression.
Quick Summary / TL;DR
- Start with decluttering your space to make cleaning easier.
- Dust all surfaces, starting from the top down.
- Clean windows, mirrors, and any glass surfaces for a polished look.
- Scrub floors thoroughly, considering the right cleaner for your flooring.
- Perform a deep clean in the kitchen, including appliances.
- Don’t skimp on the bathroom; a clean bathroom is essential.
- Do a final check of your space before moving out.
Now that you have a complete move out cleaning checklist, roll up your sleeves and get to work. Whether you’re saying goodbye to a cherished space or moving on to bigger and better things, leaving your place clean will not only make your landlord happy but may also earn you that security deposit back. Happy cleaning!