Decluttering Your Kitchen: Before and After Ideas
Decluttering Your Kitchen: Before and After Ideas
Let’s be honest, the kitchen often becomes a disaster zone. You know what I mean – the counter piled with mail, the pantry stuffed with mystery cans, and the drawers overflowing with utensils you forgot you owned. Sound familiar? Don’t worry, you’re not alone. I was in the same boat until I decided to tackle it head-on with some kitchen organization ideas. Spoiler alert: it was life-changing. My kitchen went from chaotic to Pinterest-worthy, and I’m here to share everything I learned (including mistakes you’ll want to avoid).
Why Kitchen Organization Matters
So, why should you care about decluttering your kitchen? Isn’t it fine as long as you can cook dinner? Well, here’s the thing: a clutter-free kitchen saves time, reduces stress, and actually makes you enjoy cooking (yes, really). When everything has a home, you’ll stop wasting time rummaging through drawers. Plus, you’ll avoid that sinking feeling when you can’t find the garlic press… because it’s buried under 20 random gadgets.
Studies even show that clutter can increase cortisol levels. Who wants extra stress when you’re busy trying to meal prep? Whether you’ve got a tiny apartment kitchen or a sprawling space, decluttering can bring some much-needed sanity to your life. Ready to dive in? Let’s get started!
Step #1: Commit to the Chaos Before the Calm
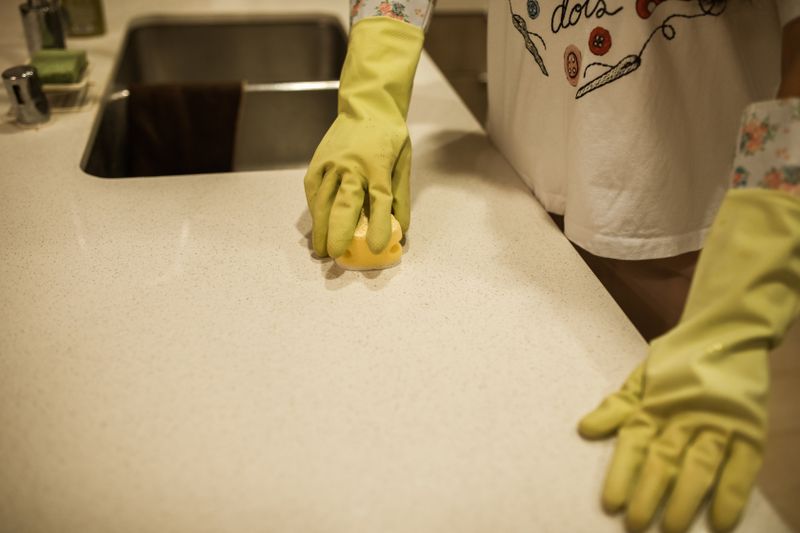
Here’s the thing no one tells you: it gets worse before it gets better. If you’re expecting a magical transformation by simply opening a drawer and rearranging a few forks, I’m sorry to burst that bubble. Decluttering requires pulling everything out – yes, everything. I literally emptied my pantry, fridge, drawers, and cabinets onto my counters and dining table. Was it overwhelming? 100%. Did my dog look at me like I had lost my mind? Also yes. But trust me, this is the only way to get a full picture of what you’re dealing with.
Quick checklist to prep for the mess:
- Clear off your counters before you start. You’ll need the space for sorting.
- Grab garbage bags for trash and donation piles.
- Make sure you have some motivating tunes or a podcast to keep your energy up.
Step #2: Sort Like a Pro
Once everything is out in the open, it’s time to sort. Here’s a tip I wish I had learned sooner: grouping your items by category is so much better than organizing by location. For example:
- All baking supplies together (flour, sugar, measuring spoons)
- Cooking essentials (spices, oils, utensils)
- Snacks (chips, granola bars, candy – you know who you are)
- Appliances you actually use (hello, coffee maker)
When you do this, you’ll notice duplicates immediately. I had three bottles of cumin, two whisks, and enough Tupperware lids to build a small fort. Take a moment to weed out items you don’t need. If you haven’t used it in the past year, it’s probably safe to donate it.
Step #3: Invest in Game-Changing Storage Solutions
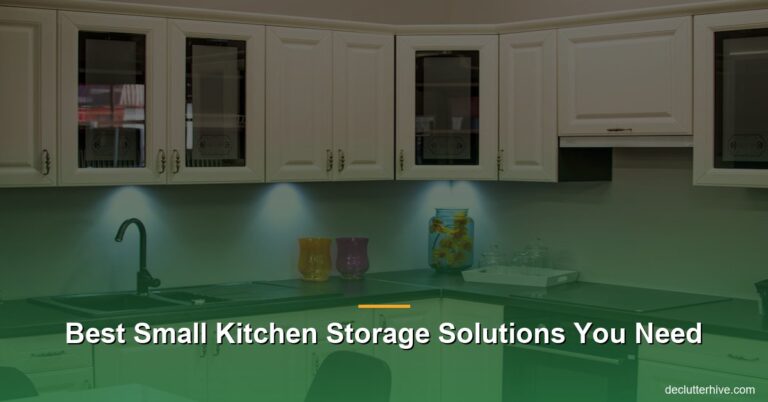
Here’s the fun part: bringing in new storage solutions to make your kitchen functional AND pretty. After testing literally everything from dollar-store bins to fancy drawer dividers, I found that a mix of affordable and durable items works best.
Storage ideas that transformed my kitchen:
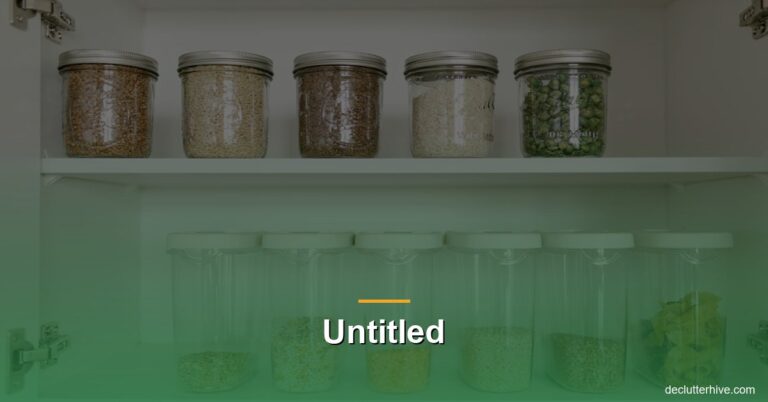
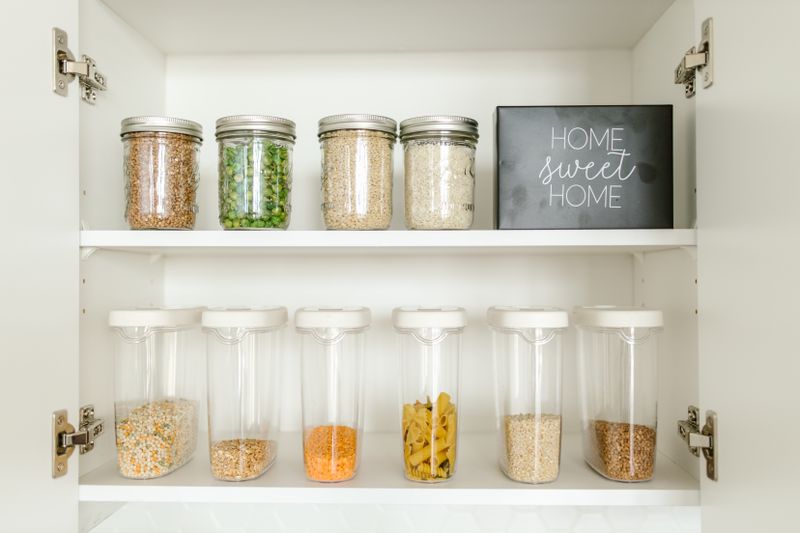
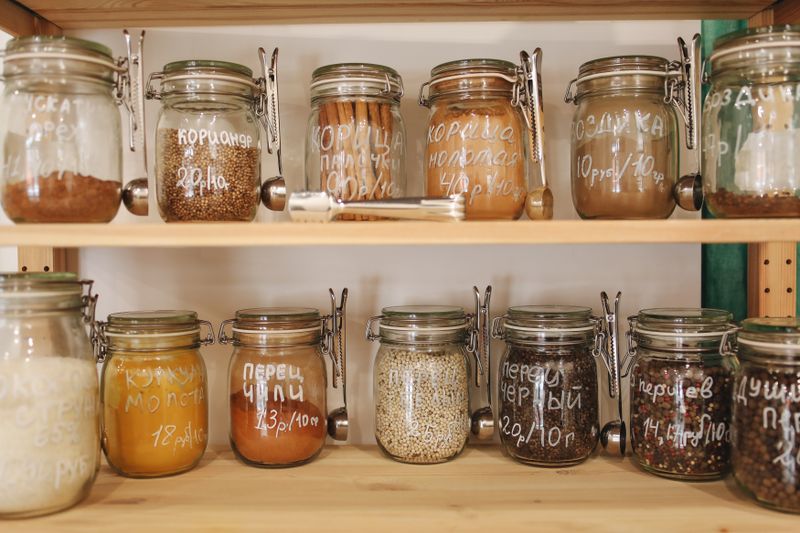
- Clear bins for the pantry: These are honestly my favorite. You can see exactly what’s inside without digging through boxes of pasta. Pro tip: Label them. It takes five minutes and saves hours of frustration later.
- Drawer dividers: No more fishing around for measuring spoons! Dividers keep everything in its lane… kind of like seat belts for your utensils.
- Lazy Susans: These little spinning trays are a big deal for awkward corners or deep cabinets. Use them for sauces, oils, or spices.
- Over-the-door storage racks: Perfect for holding aluminum foil, parchment paper, or cleaning supplies.
- Floating shelves: If you’re short on cabinet space, install a couple of shelves for dishes, mugs, or even plants to give your kitchen some personality.
- Magnetic knife holder: If you don’t have a lot of counter space, this is a great way to store your knives safely and stylishly.
Also, don’t fall into the trap of buying storage you don’t actually need. I once bought these fancy stackable canisters that looked cute – but they weren’t practical for the type of food I store. Lesson learned: buy for function first, aesthetics second.
Step #4: Reorganize With Purpose
Now that everything’s sorted, it’s time to put things back – but smarter. Here’s how I approached it:
- Frequently used items = prime real estate: Keep your everyday essentials (salt, pepper, olive oil) within easy reach. I created a “cooking zone” near the stove for all my go-to ingredients.
- Rarely used items = top shelves: If you’ve got holiday cookie cutters or a fondue pot collecting dust, stash them up high or in the back of a cabinet to free up valuable space.
- Snacks = eye level in the pantry: This is especially helpful if you’ve got kids (or a snack-loving partner). Group similar items together, like granola bars in one container and chips in another.
Pro tip:
If you have small appliances you don’t use daily, consider storing them outside the kitchen. I now keep my waffle maker in a closet, and I haven’t missed it one bit.
Before and After: What Difference Does It Make?
Okay, let’s talk results. Picture my “before” situation: mismatched plates shoved into cabinets, an avalanche of spices in the pantry, and counters so crowded I couldn’t even roll out dough. My tiny kitchen felt like a constant battle, and cooking was a chore.
Now? It’s a whole different vibe. My countertops are clear (hello, space for meal prep), I can open a drawer and immediately find the garlic press, and my pantry looks like it belongs in an organizing show. I don’t dread cooking anymore – actually, I kind of look forward to it. I even whipped up a batch of cookies last week without wanting to throw the rolling pin across the room. Progress!
Common Mistakes People Make
Before you dive into your decluttering project, let me save you from some rookie mistakes:
- Buying storage before decluttering: Guilty. Don’t do this. You’ll end up with bins that don’t fit your space or items.
- Keeping “just in case” items: If you haven’t used that croissant cutter in two years, you’re not going to start now. Let it go.
- Ignoring expired pantry items: Check expiration dates. I found a can of soup from 2016 – gross.
- Overthinking the perfect layout: Your kitchen doesn’t need to look like a magazine. Aim for functional, not flawless.
TL;DR: The Essential Kitchen Decluttering Plan
- Pull everything out and sort it by category.
- Toss duplicates, expired items, and things you never use.
- Invest in storage solutions that make sense for your kitchen.
- Put frequently used items in easy-to-reach spots.
- Celebrate your clutter-free, sanity-saving kitchen!
Ready to Transform Your Kitchen?
Are you ready to tackle your own decluttering project? Trust me, it’s worth the effort. Start with just one drawer or shelf if the whole kitchen feels overwhelming. And don’t forget to save this post so you can come back to these tips when you need them. Which kitchen organization idea are you trying first? Let me know – I’d love to hear about your “after” transformation!
Products That Actually Help
Here are a few things I personally use (or have tested) that make a real difference:
- Drawer Dividers – These adjustable drawer dividers keep utensils and tools perfectly separated.
- Lazy Susan Turntable – A turntable makes those deep corner cabinets actually usable.
- Clear Storage Containers – Switching to clear containers changed my pantry game completely.
Note: links above go to Amazon. If you buy something, I may earn a small commission at no extra cost to you. I only recommend products I actually stand behind.