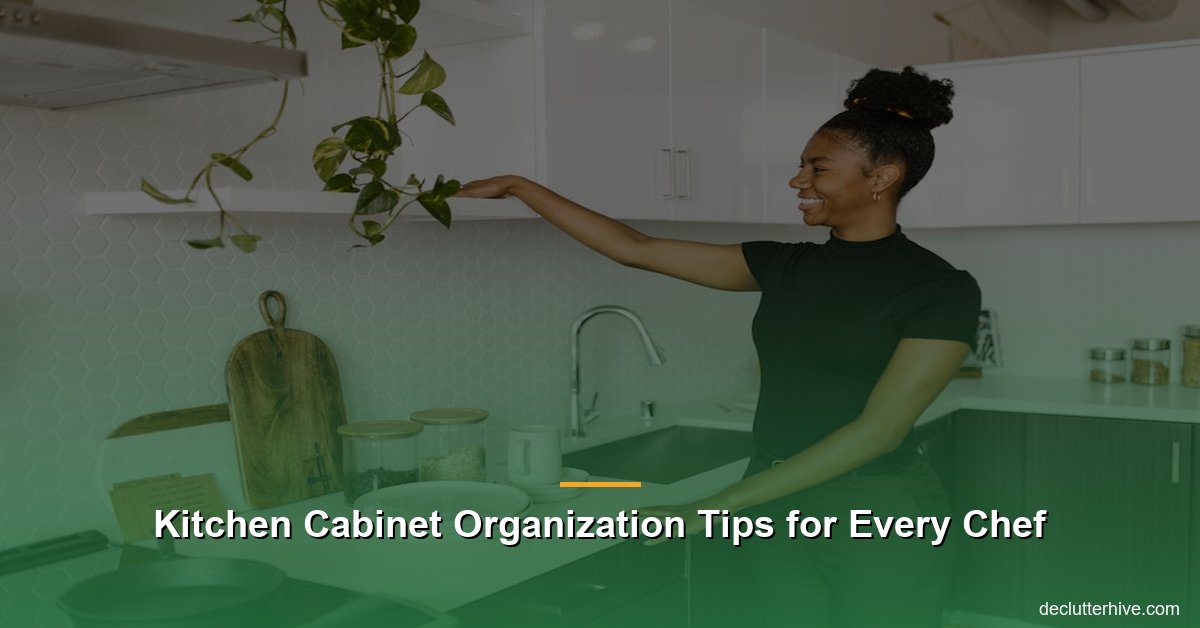
Kitchen Cabinet Organization Tips for Every Chef
Kitchen Cabinet Organization Tips for Every Chef
Let’s be honest: Kitchen cabinets can feel like black holes. One day, you’re organizing jars of spices, and the next, you’re digging through an avalanche of mismatched Tupperware lids trying to find cinnamon. Sound familiar? Don’t worry, my friend – I’ve been there. The good news? With a few practical tips (and maybe a dash of tough love), you can transform your kitchen cabinets into a chef-worthy haven where everything has a place.
Whether you’re a seasoned home chef whipping up gourmet creations or the kind of cook who relies on a trusty microwave and ramen noodles, a well-organized kitchen will save you time, stress, and energy. Plus, you might even feel a little smug every time you open those gloriously neat cabinets. So, grab your coffee and let’s get started.
Why Does Kitchen Cabinet Organization Even Matter?
Alright, you might be thinking, “What’s the big deal about organizing my kitchen cabinets?” It’s not like Gordon Ramsay is going to pop out of your pantry and judge you (although, how terrifying would that be?).
Here’s the thing: A cluttered kitchen is just… annoying. You waste time searching for things, you accidentally buy duplicates of stuff you already have, and worst of all, cooking stops being fun. Suddenly, making a simple pasta dish feels like a full-on obstacle course.
Getting control of your kitchen cabinets doesn’t just mean everything looks pretty – although, let’s not lie, that’s a huge plus. It also means you’re more efficient, less stressed, and can finally stop yelling, “WHERE IS THE DAMN VANILLA EXTRACT?” every time you bake cookies.
Now, let’s roll up our sleeves and get those cabinets in check.
1. Declutter Like a Pro
Before you can organize your kitchen cabinets, you’ve gotta deal with the elephant in the room: clutter. Yeah, I know, it’s not the most fun step. But trust me, it’s necessary.
Start by pulling everything out of your cabinets. I mean it. Every last mug, spice jar, and half-empty box of pasta. Why? Because you can’t organize chaos. You need a blank slate.
Ask yourself:
- Do I use this? (Like, really use it?)
- Is it broken, expired, or just taking up space?
- Does it spark joy? Kidding, but seriously, do you even like it?
Be ruthless. Toss anything expired or questionable (goodbye, jar of salsa from 2019). Donate or recycle duplicates and items you don’t use. And if you’re feeling guilty about letting go of that fancy spiralizer you swore you’d use, let me remind you: It’s not your job to hoard kitchen gadgets that don’t serve you.
2. Group Like Items Together
Once you’ve decluttered, it’s grouping time. This is where the real magic starts. By categorizing your items, you’ll know exactly where to find things when you’re in the cooking zone.
Here’s how I break mine down:
- Spices and seasonings: Keep these together in a designated spot.
- Dry goods: Think pasta, rice, flour, sugar, and cereal.
- Snacks: Chips, crackers, granola bars – you get the point.
- Canned goods: Soups, beans, and all the pantry staples.
- Baking supplies: Flour, baking soda, chocolate chips, cupcake liners, etc.
- Tupperware: Lids and containers actually matched up (I know, revolutionary).
- Dishes and glassware: Plates, bowls, mugs – all that good stuff.
Pro tip: If something doesn’t belong in the kitchen (looking at you, random pile of batteries), find it a new home. Don’t let non-kitchen stuff creep into your cabinets.
3. Maximize Vertical Space with Organizers
Most cabinets are way taller than they need to be, and guess what? You’re leaving prime real estate untouched. Shelf risers, stackable bins, and under-shelf baskets are your new BFFs. They help you use that awkward vertical space to its full potential.
Here’s what I use:
- Shelf risers: Perfect for doubling the space for plates, mugs, or canned goods.
- Pull-out baskets: An absolute a big deal for deep cabinets. No more crawling on the floor to find the lone jar at the back.
- Lazy Susans: These spinning beauties keep your oils, sauces, and spices within reach. Genius.
- Tension rods: Use these to create dividers for baking sheets, cutting boards, or even pot lids.
Trust me, these little tools make a huge difference. Once you start using them, you’ll wonder how you ever survived without them.
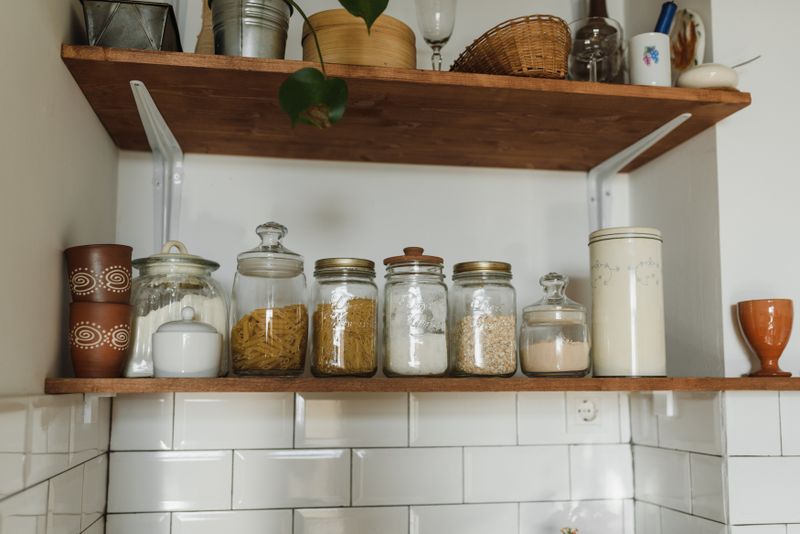
4. Get Clear Containers with Labels
Let me tell you, clear containers are life-changing. Not only do they keep things fresh, but you can see exactly what’s inside without playing a guessing game.
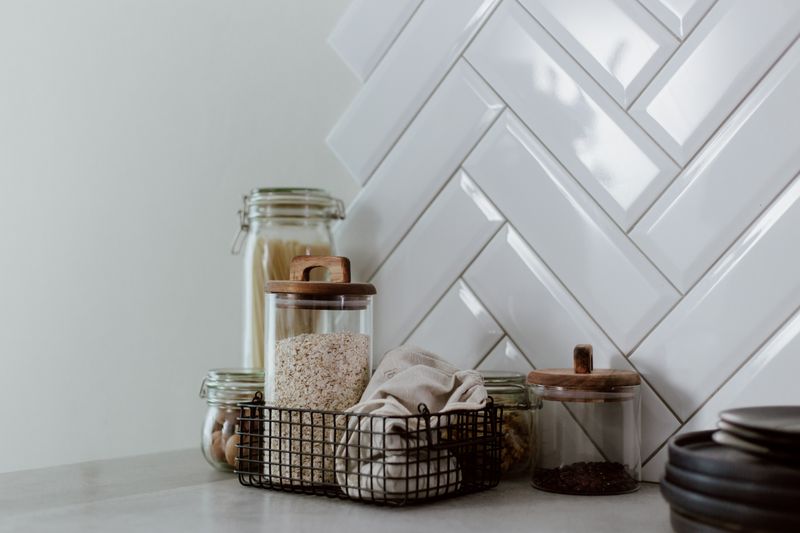
I use clear bins for literally everything:
- Flour, sugar, and oats.
- Cereal and snacks.
- Pasta and rice.
- Even coffee pods (because who has time to rummage through boxes at 7 a.m.?).
And don’t forget the labels! You don’t have to get fancy – a label maker is great, but a piece of masking tape and Sharpie will do the trick too. Bonus points if you label expiration dates.
5. Assign “Zones” to Your Cabinets
This might sound a little extra, but hang with me. Dividing your kitchen into zones literally saves you so much stress. You don’t want to run across the room 15 times just to make a peanut butter sandwich.
Here’s an example of how you could set up your zones:
- Cooking zone: Pots, pans, spatulas, oils, and spices – keep these near the stove.
- Prep zone: Cutting boards, knives, and mixing bowls go near your counter space.
- Serving zone: Plates, glasses, and utensils near the dishwasher for easy unloading.
- Snack zone: Put this wherever makes sense for your family. Bonus points if it’s out of the kids’ reach!
Having everything in the right place makes your kitchen work for you, not against you.
6. Rotate and Restock (No More Expired Salsa!)
You know those mystery cans lurking at the back of your pantry? The ones you can’t remember buying? Yeah, let’s talk about those.
Adopt a “first in, first out” system. Every time you buy new groceries, rotate the older items to the front so they get used sooner. This works especially well for canned goods, snacks, and anything with an expiration date.
And please, for the love of tacos, check your pantry before grocery shopping. How many times have you come home with a third jar of marinara sauce because you didn’t realize you already had two? (Guilty as charged.)
7. Use Door Space Wisely
Most people forget their cabinet doors can be prime storage real estate. Slap some adhesive hooks or over-the-door organizers on those bad boys, and you’ve opened up a whole new world of possibilities.
Ideas for door space:
- Hooks for measuring cups and spoons.
- Small baskets for spice packets or tea bags.
- Magnetic strips for knives, scissors, or anything metal.
This is especially a lifesaver in small kitchens where every inch counts.
8. Keep It Kid-Friendly (If Applicable)
If you’ve got little ones running around, think about their needs too. Create a kid-friendly snack zone with their favorite goodies within easy reach. Use unbreakable dishes and cups in lower cabinets so they can grab their own things without your help.
Also, if your kids are old enough, make them part of the organization process. Who knows, they might actually enjoy it – and it’s a great way to teach them how to keep things tidy.
Common Kitchen Cabinet Organization Mistakes (Avoid These!)
Let’s pause and talk about what not to do. These mistakes could sabotage all your hard work:
- Falling for “Pinterest-perfect” setups: Sure, rainbow-colored pantries look amazing, but don’t waste your time alphabetizing spices if that’s not realistic for you.
- Over-organizing: Yes, this is a thing. If your system is too complicated, you’ll never stick to it. Keep it simple.
- Storing unused stuff: If you haven’t used that waffle maker in three years, it doesn’t deserve premium cabinet space.
TL;DR Version
Declutter first, group like items, and use storage tools like risers and clear bins to maximize space. Assign zones to make your kitchen work for you, and don’t forget to use cabinet door space. Oh, and for the love of food, rotate your pantry items.
Ready to Transform Your Kitchen Cabinets?
Organizing your kitchen cabinets isn’t rocket science, but it does take some effort upfront. The payoff? A kitchen that’s functional, stress-free, and maybe even Instagram-worthy.
So, what are you waiting for? Grab a trash bag, roll up your sleeves, and try my very first tip today. Trust me, your future self will thank you.
Products That Actually Help
Here are a few things I personally use (or have tested) that make a real difference:
- Drawer Dividers – These adjustable drawer dividers keep utensils and tools perfectly separated.
- Lazy Susan Turntable – A turntable makes those deep corner cabinets actually usable.
- Clear Storage Containers – Switching to clear containers changed my pantry game completely.
Note: links above go to Amazon. If you buy something, I may earn a small commission at no extra cost to you. I only recommend products I actually stand behind.