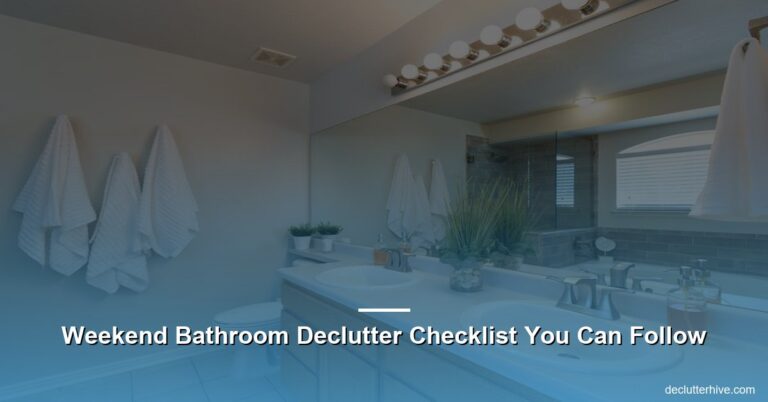
Monthly Bathroom Decluttering Routine to Follow
Monthly Bathroom Decluttering Routine to Follow
Let’s face it: the bathroom can go from spa-like sanctuary to a chaotic mess faster than you can say “expired sunscreen.” One day, it’s pristine; the next, it’s overflowing with half-empty shampoo bottles, tangled hair ties, and toothpaste caps you swear you didn’t leave off. Sound familiar? If you’re nodding your head (or nervously glancing at your bathroom), it’s time to get serious about creating a monthly bathroom decluttering routine!
This isn’t one of those pie-in-the-sky plans that takes hours or requires every storage bin from IKEA. I’m talking simple, realistic steps you can follow each month to transform your bathroom from a disaster zone to a serene, functional space. Spoiler alert: It’s easier than you think, and I’ve even included a bathroom declutter checklist to make it foolproof. Ready? Let’s do this.
Why Bother Decluttering Your Bathroom?
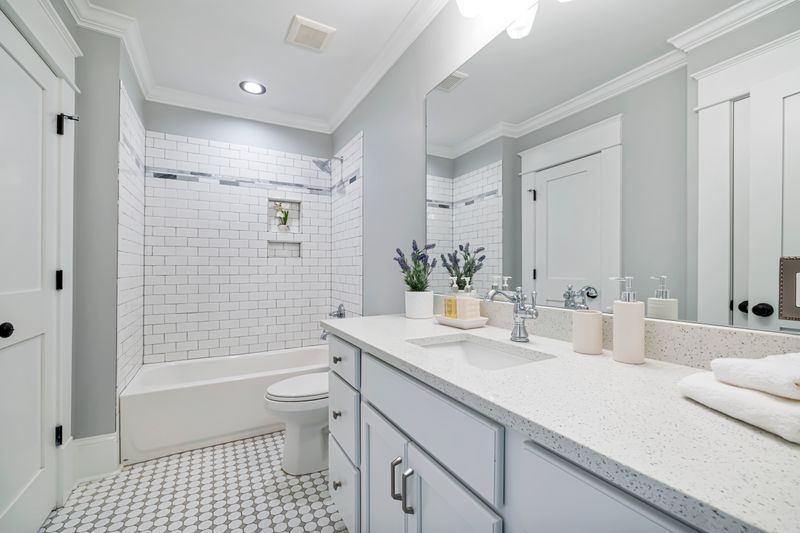
I get it, decluttering isn’t anyone’s idea of fun. But here’s the thing: your bathroom is one of the most-used spaces in your home. Whether you’re rushing through a morning routine or winding down with a bubble bath (or both, because modern life), the space should work for you, not stress you out.
A clutter-free bathroom:
- Saves time (no more hunting for that one hairbrush under piles of who-knows-what).
- Reduces stress (a calm space equals a calm mind – it’s science).
- Helps you save money (you’ll stop rebuying things you already own).
Convinced? Good. Let’s break it down, step by step.
Step 1: Take Everything Out
Yep, everything. I know it sounds extreme, but trust me, this is key. If you’ve ever tried to declutter by just shifting things around, you already know that doesn’t work. To truly assess what you have, you need to see it all.
What to do:
- Grab your favorite playlist or podcast (might as well make it fun, right?).
- Empty every drawer, cabinet, and shelf. Dump it all onto a flat surface, like your bathroom counter or floor.
- Don’t skip the sneaky spots: under the sink, in the shower caddy, and even that random “beauty junk drawer” we all pretend doesn’t exist.
Suddenly realizing you own five opened bottles of body lotion? Yeah, same.
Step 2: Sort Into Categories
Now that you’ve unearthed every lotion, potion, and mystery bottle, it’s time to sort. This is where you figure out what stays and what goes.
Categories to consider:
- Hair care (shampoo, conditioner, styling products).
- Skincare (cleansers, moisturizers, serums).
- Makeup (yes, even those broken palettes you’re weirdly attached to).
- Oral hygiene (toothpaste, floss, mouthwash).
- First-aid supplies (band-aids, antiseptics).
- Cleaning supplies (sponges, sprays, toilet bowl cleaners).
Once sorted, ask yourself:
- Have I used this in the last month? If not, does it spark joy (à la Marie Kondo)?
- Is it expired? Fun fact: sunscreen that’s expired actually won’t protect you. Toss it.
- Do I have duplicates? Honestly, one backup is fine. You don’t need an apocalypse-level stockpile.
Step 3: Purge Ruthlessly
Now comes the hard part: letting go. Here’s where you channel your inner minimalist and say goodbye to the clutter.
What should go?
- Anything that’s expired (looking at you, six-year-old nail polish).
- Items you haven’t touched in months (be real, you’re not going to use that free hotel shampoo).
- Broken stuff you keep saying you’ll “fix” (like that wonky razor or busted hairdryer).
- Makeup that’s past its prime. (Pro tip: liquid products shouldn’t stick around longer than a year).
And please, do not guilt yourself over wasted money. It’s gone. Let it go and move forward.
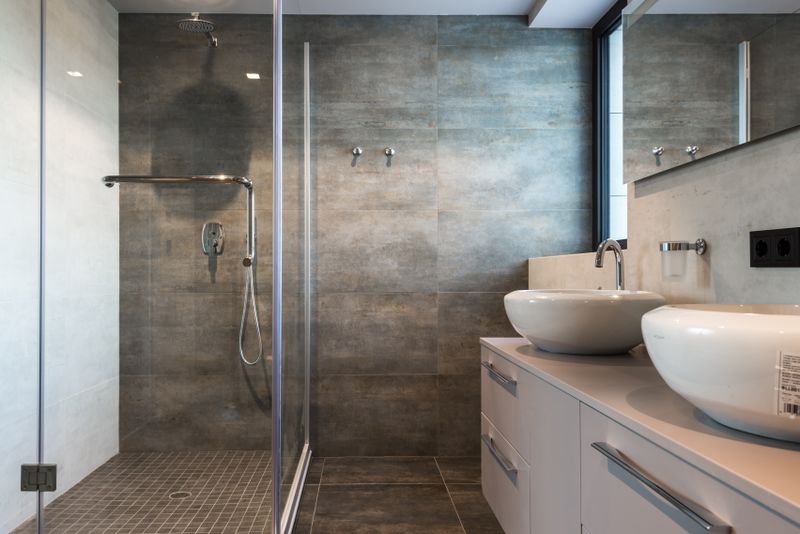
Step 4: Clean the Space
Now that your bathroom is empty, it’s the perfect time to give it a deep clean. I know, cleaning is like the least sexy task ever, but it’s worth it.
Quick cleaning steps:
- Wipe down all surfaces with a disinfecting spray. Don’t forget the corners!
- Clean your mirror and sink. Toothpaste splatter doesn’t scream “calm oasis.”
- Scrub the tub/shower area. (Hot tip: magic erasers work wonders on soap scum.)
- Mop or wipe down the floor, especially around the toilet area.
When the space is sparkling, you’ll be so glad you took the extra time!
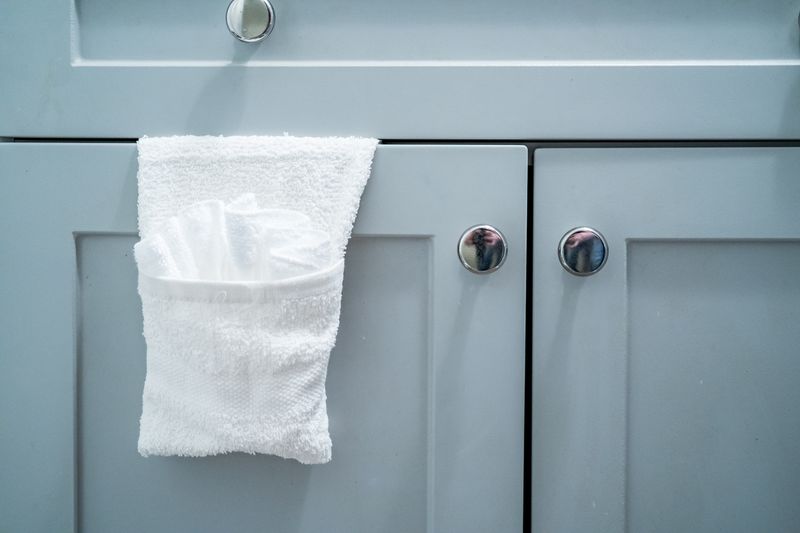
Step 5: Put Things Back (The Right Way)
Now that you’ve decluttered and cleaned, it’s time to put everything back. But don’t just shove it into a drawer and call it a day. How you organize your bathroom matters.
Tips for organizing your bathroom:
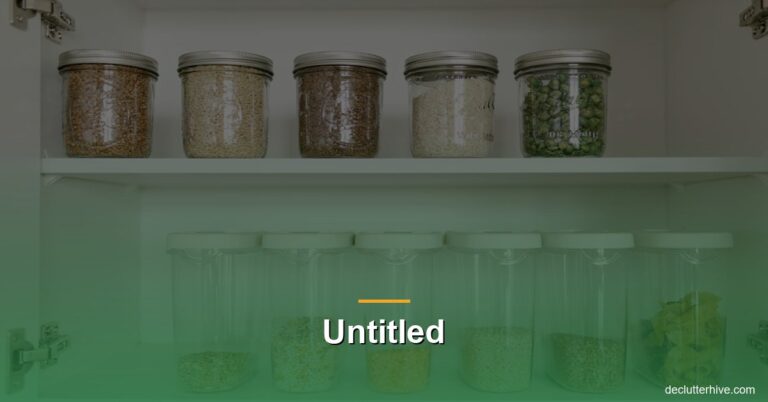
- Group similar items together. Keep all your skincare in one spot, your hair tools in another, and so on.
- Use clear containers. If you can see it, you’re less likely to forget about it.
- Prioritize daily essentials. Things you use every day (toothpaste, face wash) should be front and center. Less-used items (specialty hair masks and such) go out of the way.
- Maximize vertical space. Over-the-door organizers, wall-mounted shelves, or tiered trays can work magic in small bathrooms.
- Invest in dividers for drawers. Because nothing’s worse than digging through a sea of random Q-tips and bobby pins in the morning.
Pro Tips for a Stress-Free Declutter
1. Set a Timer ⏰
Decluttering can feel overwhelming. Break it into chunks, like 15 or 30 minutes at a time. You’d be surprised how much you can accomplish in even a small window of time!
2. Make It Monthly
This isn’t a one-and-done project. By decluttering monthly, you’ll keep your bathroom under control and avoid the dreaded clutter creep. Set a recurring calendar reminder so you don’t forget.
3. Keep a Donation Box Nearby
Some things you’re ready to part with (like unopened beauty products) might be useful to others. Keep a donation box handy and add to it as you declutter. Check with local shelters to see what items they’ll accept!
Common Mistakes to Avoid
- Keeping “just in case” items. If you haven’t used it in six months, you probably won’t. Let it go.
- Skipping the purge step. Organizing without decluttering first is like putting lipstick on a pig. Sorry, but it’s true.
- Over-stocking on storage bins. Start with what you have before buying more stuff to hold your clutter. Sometimes, less is more.
The Bathroom Declutter Checklist
Here’s a simple bathroom declutter checklist to help you stay on track:
- Empty all drawers, cabinets, and storage areas.
- Sort items into categories (hair, skincare, makeup, etc.).
- Check expiration dates and toss expired products.
- Remove duplicates or items you don’t use.
- Deep clean all surfaces, including mirrors and floors.
- Organize items back into drawers and shelves, grouping like items together.
- Label storage containers for easy access (if that’s your thing).
- Dispose of unwanted items responsibly (recycle when possible, donate unopened items).
- Add a note in your calendar to do it all again next month!
This checklist keeps things simple and doable – which, let’s be honest, is the only way a routine actually works.
Ready to Tackle Your Bathroom Clutter?
Now that you have a solid plan (and the ultimate bathroom declutter checklist), it’s time to take action. Seriously, your future self will thank you the next time you can find your favorite razor without having to dig through an avalanche of mismatched products.
Here’s my challenge for you: block off 30 minutes this weekend, grab a trash bag, and start Step 1. Just 30 minutes! You’ll see the difference, and it might even inspire you to tackle other spaces in your home.
And hey, if you loved these tips, share this with a friend who could use a little decluttering inspiration. (We all know that person, right?) Happy tidying! 🎉
**
Products That Actually Help
Here are a few things I personally use (or have tested) that make a real difference:
- Shower Caddy – A rust-proof shower caddy keeps everything within reach.
- Over Toilet Storage – This over-toilet rack adds tons of storage without drilling.
- Cabinet Organizer Bins – Clear bins make it easy to see everything under the sink.
Note: links above go to Amazon. If you buy something, I may earn a small commission at no extra cost to you. I only recommend products I actually stand behind.