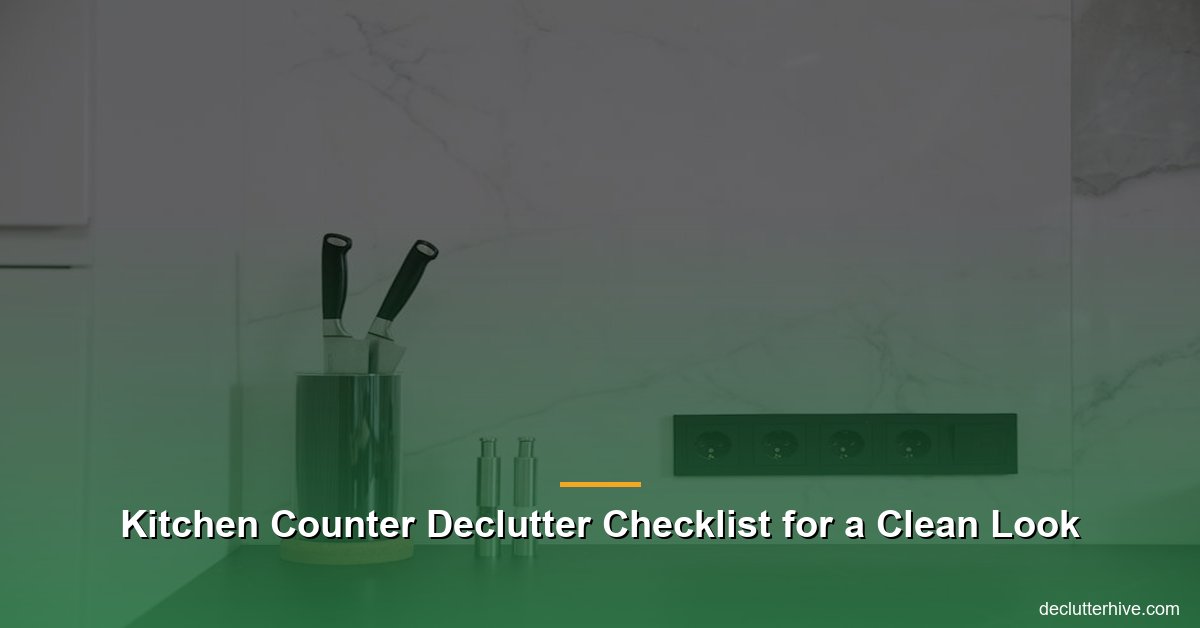
Kitchen Counter Declutter Checklist for a Clean Look
Kitchen Counter Declutter Checklist for a Clean Look
Does your kitchen counter look like a war zone? Be honest – right now, is it covered with random mail, half-empty coffee mugs, and a growing pile of stuff you keep swearing you’ll “deal with later”? I’ve been there. A cluttered counter sneaks up on you, slowly transforming from a functional workspace into a chaotic drop zone for literally everything. But don’t worry – today, we’re tackling it together with my ultimate kitchen counter declutter checklist.
Why does this matter? Because when your counters are clean and clear, your entire kitchen feels larger, brighter, and more inviting. Plus, less clutter means less stress. Trust me, you’ll feel like an actual adult once you’ve got this under control. Let’s roll up our sleeves and get started, shall we?
Why You Should Declutter Your Kitchen Counters
First, let’s talk about why this is even worth your time. Besides the obvious aesthetic appeal, there are some practical reasons to declutter your kitchen counters:
- Improved functionality. Cooking and cleaning are so much easier when you’re not constantly moving things out of the way.
- Easier cleaning. It’s way faster (and way less annoying) to wipe down clear counters than to dance around appliances and piles of stuff.
- Better vibes. Clutter is stressful. Every time you walk into your kitchen and see a mess, it’s like your brain clenches. Let’s not do that anymore.
And here’s the thing: decluttering doesn’t have to mean sterile minimalism. I’m not saying you need to go full “show home” with a single bowl of lemons and nothing else. It’s about making your space work for you – and look good while it’s at it.
Step 1: Clear Everything Off Your Counters
Let’s not overthink this. Start by taking everything off your counters. Yes, everything. That means the toaster, the knife block, the mail pile, that weird bowl of random chargers – everything. Put it all on the dining table or floor for now.
Why? Because you can’t declutter properly if you’re just shuffling things around. Clearing the counters gives you a blank slate and helps you see what you’re really working with.
Pro Tip: Wipe down your counters after you’ve cleared them. Trust me, there’s probably more crumbs and sticky spots than you realized. Gross, I know.
Step 2: Sort Like a Ruthless Decluttering Boss
Now that you’ve got a mountain of stuff, it’s time to sort everything into categories. This step is important, so don’t skip it. Here’s how I break it down:
- Daily Use: Stuff you actually use every day, like your coffee maker or a cutting board.
- Weekly Use: Items you use often but not daily, like a stand mixer or a rice cooker.
- Rarely Used: Things you only need on special occasions, like that waffle maker you got for Christmas and used once.
- Doesn’t Belong Here: Random other items that don’t even belong in the kitchen – think mail, sunglasses, or your kid’s art project.
Quick Question: Do You REALLY Need It?
Here’s the hard part: ask yourself if you really need to keep everything you pulled off your counter. For example:
- Do you actually use that second blender, or is it just collecting dust?
- Why are there four sets of salt and pepper shakers on your counter?
- Are you honestly going to eat that stack of takeout menus when you have Google?
Be honest. If it’s not adding value, it’s time to say goodbye. Remember, less is more on your kitchen counters.
Step 3: Decide What STAYS on Your Counters
Now for the fun part – deciding what earns a spot back on your kitchen counter. Here’s a helpful rule: if you don’t use it daily or almost daily, it doesn’t belong on the counter. Period.
What should stay? Here’s a short list of common items worth keeping out:
- Appliances you use daily: Coffee maker, toaster, blender (if you’re a smoothie fanatic).
- Cooking essentials: A knife block, oil and vinegar, or a small spice rack.
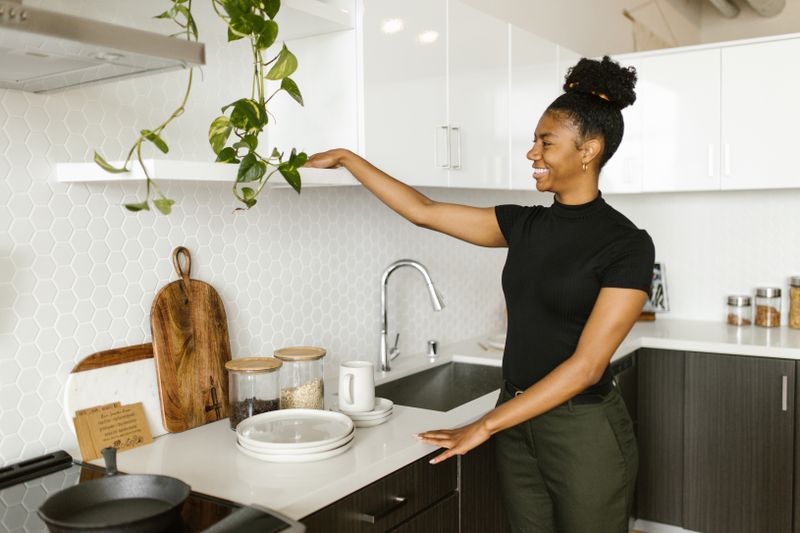
- Decorative but functional items: A nice fruit bowl or a plant (bonus points if it’s a cute herb plant you actually use).
That’s it. Everything else? Either store it in a cabinet or donate it.
Step 4: Create Zones for Maximum Efficiency
Your kitchen counter should feel logical and easy to handle. One of the best ways to achieve that is by creating zones.
Here’s an example layout for your kitchen counter zones:
- Coffee Corner ☕: Set up your coffee maker, mugs, sugar, and any other coffee essentials in one small area. This keeps your morning routine hassle-free.
- Prep Zone 🍴: Keep a cutting board, knife block, and maybe a small bowl of fresh garlic or onions here. That way, you’ve got everything handy when it’s time to chop and cook.
- Drop Zone 📬: Let’s be honest, life happens. Designate a small tray or basket for mail, keys, or other random items you usually drop on the counter. The key is keeping it contained!
Step 5: Use Storage Wisely
Okay, so where do you put all the stuff that didn’t make the counter cut? This is where good storage comes in. Here are some ideas to maximize your space:
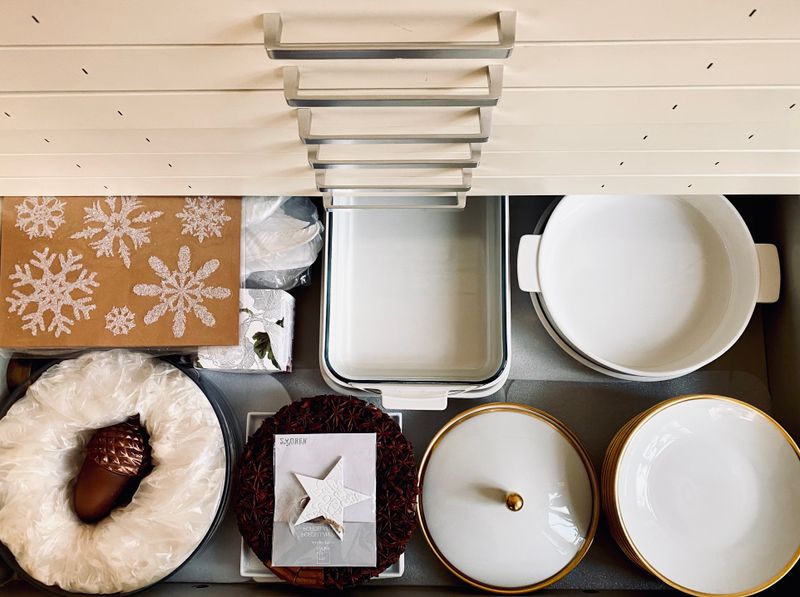
- Use drawers and cabinets: Get organizers for your drawers, and stash away small appliances in cabinets. You’d be surprised how much space you can save this way.
- Try wall storage: Mount a magnetic knife strip or a pegboard for utensils. It frees up counter space and looks cool too.
- Baskets and bins: Group like items together in storage baskets to keep them organized.
- Lazy Susans: Perfect for deep cabinets that tend to become black holes for lost items.
Step 6: Keep It Clean (The Hard Part)
Decluttering your kitchen counters isn’t a “one and done” deal – sadly. Once you’ve got your counters looking pristine, you need a game plan to keep them that way.
Here’s what I do:
- Daily reset: After cooking, take 2 minutes to put things back in their designated spots. It’s quick and makes a huge difference.
- Weekly cleanout: Once a week, check your Drop Zone, wipe down the counters, and make sure everything is still where it should be.
- Stop the clutter before it starts: Get in the habit of only putting essentials back on the counter.
Common Mistakes to Avoid
When I first started decluttering my counters, I made all the rookie mistakes. Learn from me, my friend – avoid these pitfalls:
- Keeping too much out. If your counter still feels cluttered, you’re probably keeping more out than you need.
- Skipping the “Doesn’t Belong Here” category. Those random items will keep piling up if you don’t deal with them right away.
- Not creating zones. Without designated spots for things, your counters will get messy again, fast.
TL;DR: How to Declutter Like a Pro
- Clear everything off. Start from scratch by emptying your counters.
- Sort your stuff. Put items into categories: daily use, weekly use, rarely used, and doesn’t belong here.
- Decide what stays. Only keep daily essentials on your counters.
- Create zones. Set up areas for coffee, meal prep, and more for a functional flow.
- Use smart storage. Stash the rest in drawers, cabinets, or wall organizers.
- Maintain the clean look. A quick daily reset keeps the clutter at bay.
Ready to Declutter Those Counters?
I know decluttering your kitchen counters can feel overwhelming, but trust me, you’ll feel so much better when it’s done. Plus, keeping them clean and clutter-free is easier than you think once you’ve got a system in place.
So, what are you waiting for? Start with Step 1 and get that counter chaos under control. Your future self will thank you! And if you need more tips, check out some of my other posts on [INTERNAL: related topic].
Products That Actually Help
Here are a few things I personally use (or have tested) that make a real difference:
- Drawer Dividers – These adjustable drawer dividers keep utensils and tools perfectly separated.
- Lazy Susan Turntable – A turntable makes those deep corner cabinets actually usable.
- Clear Storage Containers – Switching to clear containers changed my pantry game completely.
Note: links above go to Amazon. If you buy something, I may earn a small commission at no extra cost to you. I only recommend products I actually stand behind.