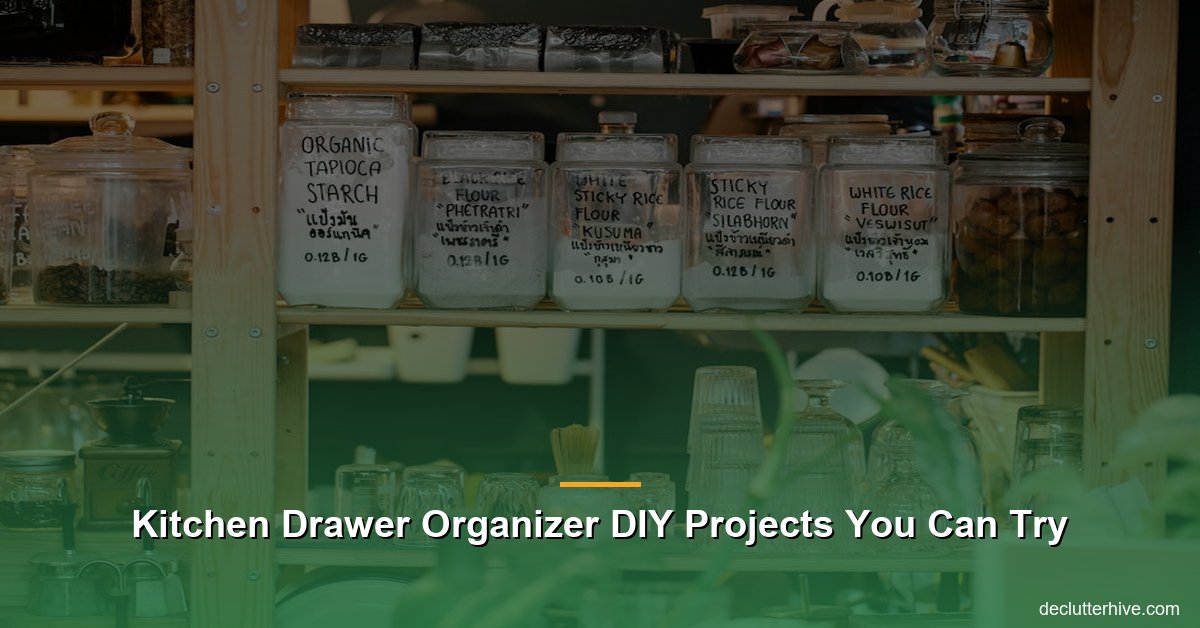
Kitchen Drawer Organizer DIY Projects You Can Try
Kitchen Drawer Organizer DIY Projects You Can Try
Let me guess – you have a kitchen drawer (or three) that looks like it exploded. Utensils shoved in so tight you can’t find anything, random spatulas mingling with stray packets of taco seasoning, and maybe even a rogue battery or two. Sound familiar? Don’t worry, you’re not alone. I’ve been there, staring into the abyss of clutter, wishing I could magically fix it. But the good news is, you don’t need magic – just a little DIY spirit.
In this post, I’m going to show you how easy it is to make your very own kitchen drawer organizer. And trust me, you don’t need to be a master woodworker or have a workshop full of fancy tools. These kitchen drawer organizer DIY projects are perfect for anyone who wants practical fixes that won’t break the bank.
Why DIY Kitchen Drawer Organizers Matter
Okay, but why bother? Can’t you just buy one at the store? Sure, you could, but store-bought organizers often come in bizarre sizes that don’t fit your drawers well. Plus, have you seen the prices? I once saw a plastic organizer for $40 – it didn’t even look sturdy enough to hold my flimsy measuring spoons!
DIY solutions let you customize your organizers to fit your drawers, your stuff, and – here’s the kicker – your style. You decide what goes where, how big the compartments are, and whether or not to add that cool splash of color. Plus, there’s a certain satisfaction in saying, “Yeah, I made this myself.”
What You’ll Need to Get Started
Ready to roll up your sleeves? Before we dive into the projects, let’s talk tools and supplies. Here’s what you’ll need for most DIY kitchen drawer organizer projects:
Basic Supplies
- Wood boards (thin plywood or balsa wood are great options)
- Measuring tape
- Wood glue or a small drill with screws
- Sandpaper
- Saw (manual or electric)
- Ruler and pencil
Optional Add-Ons
- Paint or wood stain (because who doesn’t want their organizer to look cute?)
- Decorative contact paper for a pop of personality
- Command strips or adhesive pads if you want your organizer to stay extra-secure
Don’t worry – you don’t need all of these for every project. Just pick what works for you!
DIY Kitchen Drawer Organizer Ideas
Let’s get to the good stuff! Here’s a breakdown of fun, practical kitchen drawer organizer DIY projects you can tackle based on what you need most.
1. The Classic Wooden Divider
Looking for a clean and simple way to separate your spatulas from your whisks? A wooden divider is the MVP of kitchen drawer organizers.
What you do:
- Measure the height, width, and length of your drawer. Write down these numbers – you’ll need them.
- Cut thin plywood or balsa wood into strips that match your measurements. Make sure they’re tall enough to stick out just a little (so you can grab whatever you need).
- Sand the edges to avoid splinters – because no one wants to jab their fingers every time they reach for a spoon.
- Use wood glue or screws to assemble the dividers, creating sections based on your needs. For example, one slot for cooking spoons, another for spatulas, and maybe one for measuring cups.
- Paint or stain the wood if you want some flair. Let it dry completely before placing it in your drawer.
Pro tip: If you’re hesitant about cutting wood, check craft stores for pre-cut wooden strips – saves time and stress!
2. Budget-Friendly Cardboard Dividers
Let’s be real: not all of us have a saw lying around or want to deal with wood. That’s cool. You can still make a kitchen drawer organizer with something you probably already have – a cardboard box.
What you do:
- Grab a sturdy cardboard box (Amazon delivery packaging, anyone?).
- Measure your drawer dimensions and cut the cardboard to fit.
- Create your dividers by cutting more cardboard into strips. Assemble them into a grid-like frame.
- Tape or glue the strips together.
- Cover the organizer with contact paper or wrapping paper to make it look less. well, cardboard-y.
Why it works:
It’s cheap, lightweight, and gets the job done. Plus, you can easily adjust or replace it if your storage needs change.
3. Upcycled Shoebox Organizer
Remember that random shoebox you’ve been meaning to throw away? You can turn it into a nifty little organizer for smaller kitchen items.
What you do:
- Cut the shoebox to fit inside your drawer. The lid can even serve as a bottom layer if you need double storage.
- Use the shoebox’s original dividers (if it has them) or create your own with folded index cards or small pieces of cardboard.
- Decorate it however you like – paint, washi tape, or even stickers.
Best for:
This works great for organizing small items like tea bags, spice packets, or random little kitchen tools like corn holders.
4. Bamboo Skewer Organizer
This one’s a little outside the box – but it works wonders for creating custom-sized compartments!
What you do:
- Gather a pack of bamboo skewers (you can get them for cheap at grocery stores or craft stores).
- Measure and cut the skewers to match the width and length of your drawer. You’ll need pieces that act as the “walls” of each section.
- Use hot glue or a strong adhesive to secure the skewers into a grid-like structure.
- Sand down any sharp edges of the skewers.
Why it’s awesome:
This design is super flexible, so you can create sections for things like chopsticks, utensils, wine openers, or even smaller gadgets like garlic presses.
5. Expandable Organizer Hack
Expandable organizers are all the rage right now, but many store-bought ones don’t fit odd-sized drawers. So why not make your own?
What you do:
- Build a basic wooden or cardboard organizer (use project #1 or #2 as your base).
- Measure extra strips that can slide in and out of the base organizer. These will work as adjustable dividers.
- Add guide slots to your base – this can be done by cutting shallow grooves, so your sliding dividers stay in place.
When to use this:
If you share your kitchen and your drawer contents change often, an expandable organizer will adapt with your needs.
Pro Tips for Kitchen Drawer Organizer DIY Success
Here’s where things can go south – common mistakes. I made a few when I started on my own projects, so learn from my missteps:
- Measure twice, cut once: You’d be surprised how easy it is to mess up measurements. I once made an organizer so snug it refused to fit in my drawer. Fun times.
- Don’t over-compartmentalize: Sure, that 12-section organizer seems like a good idea, but cramming everything into tiny spaces will drive you nuts fast. Stick to broader sections when possible.
- Secure it properly: If your organizer slides around every time you open your drawer, you’re going to regret not using adhesive pads or grips.
- Think beyond utensils: These DIYs aren’t just for forks and knives. You can use them to organize everything from spice jars to kitchen gadgets.
TL;DR
If your kitchen drawers are a mess, save your wallet and take control with DIY organizers. Whether you’re working with wood, cardboard, or even shoeboxes, there’s a project here for everyone. Plus, you can customize these organizers to fit your own space and storage needs – no one-size-fits-all nonsense needed.
Ready to Declutter Your Drawers?
There you have it – five ridiculously easy kitchen drawer organizer DIY projects that you can start today. Seriously, pick your favorite and give it a shot. You’ll be surprised at how satisfying it is to finally banish the chaos in your drawers for good.
Got a favorite organizer idea from this post? Share it with your friends or pin it for later – you know you’re going to need it again. And if you try one of these projects, let me know how it turns out. I love hearing about other people’s DIY adventures!
Products That Actually Help
Here are a few things I personally use (or have tested) that make a real difference:
- Drawer Dividers – These adjustable drawer dividers keep utensils and tools perfectly separated.
- Lazy Susan Turntable – A turntable makes those deep corner cabinets actually usable.
- Clear Storage Containers – Switching to clear containers changed my pantry game completely.
Note: links above go to Amazon. If you buy something, I may earn a small commission at no extra cost to you. I only recommend products I actually stand behind.